Let’s face it: if there’s one thing every teacher dreams of but rarely gets, it’s classroom storage (well, or maybe a pay raise, too!) Not every classroom is decked out with shelves, closets, lockers, or cubbies.
Pre-K! I was so excited to teach littles and had a thousand ideas swarming through my mind! I almost bounced up and down as the principal led me to see my new classroom. We were walking through the door as she casually mentioned, “Oh, and this was a computer lab last year, but we have been shifting things around a bit and decided to use part of this room for pre-k. We’ll set up a partition and use half the room for you and half for the ESL teacher.”
What?????

So with that bomb detonating in mind, we entered the space where I saw four blank walls, lots and lots of electrical outlets, and vast emptiness.
Ahhhhh!!!!
My principal promised some furniture and managed to scrounge up some tables, chairs, a whiteboard for the wall, a teacher desk, a filing cabinet, and a lovely row of flimsy partitions halfway across the large room that I was sure my pre-k kiddos would knock over in the first 3 minutes of school, and…
A shelf.
That’s right. ONE shelf. One small, lonely shelf. No other classroom storage.
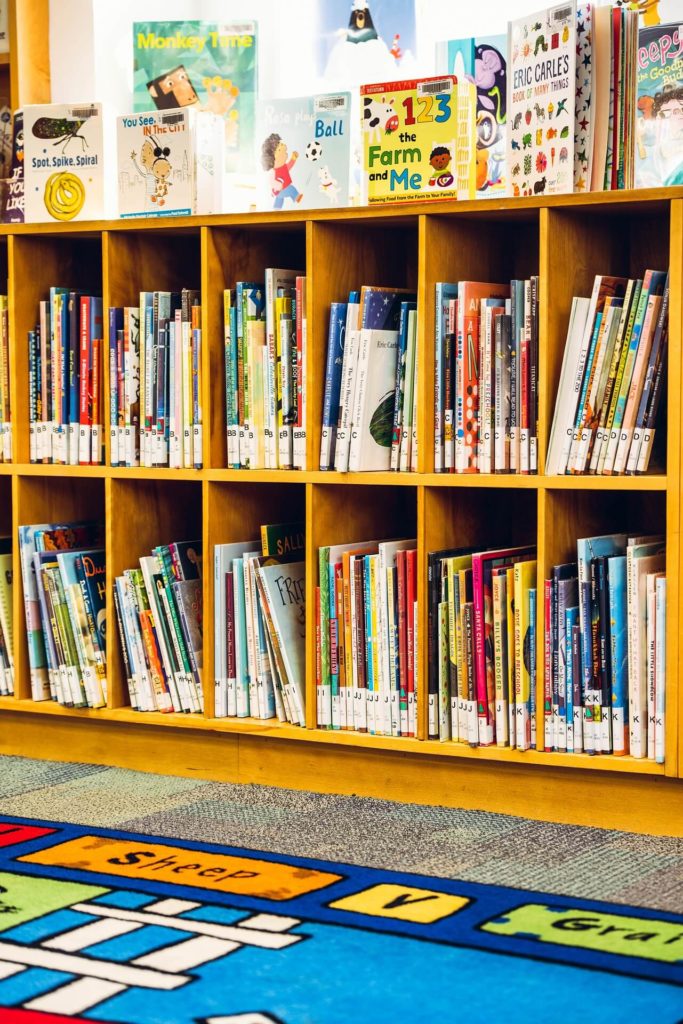
And that’s when the panic set in. How was I supposed to create engaging, inviting learning centers for my students with one shelf?
After a temper tantrum mild protest, my principal put in a call to the district warehouse and some old, ratty “well-worn” play-kitchen furniture and a little doll bed arrived. The other pre-k teacher and some kindergarten teachers kindly went through their stashes and soon wooden blocks, Lincoln Logs, Legos, teddy bear counters, magnet wands, puzzles, puppets, and manipulatives started trickling in. Oh, blessings on kind teachers who share! Soon I had more than enough “stuff” to teach with, but I still only had…
One shelf. No classroom storage.
Apparently, there were no other shelves anywhere to be had. And I was back to the swirling thought, “How am I supposed to create engaging, inviting learning centers for my students when I have no classroom storage?
So, I put on my creative cap, used the filing cabinet as a divider between centers, positioned the play kitchen just-so, used the teacher’s desk as a break between centers, found a hanging pocket-chart rod to make another division, drug around the tables and chairs and,
Wouldn’t you know it?
It started looking like an engaging, inviting pre-k room! Yay!
Except for one thing. I still only had:
One shelf. No classroom storage.
READ: Pre-K Assessment & Kindergarten Readiness Checklist
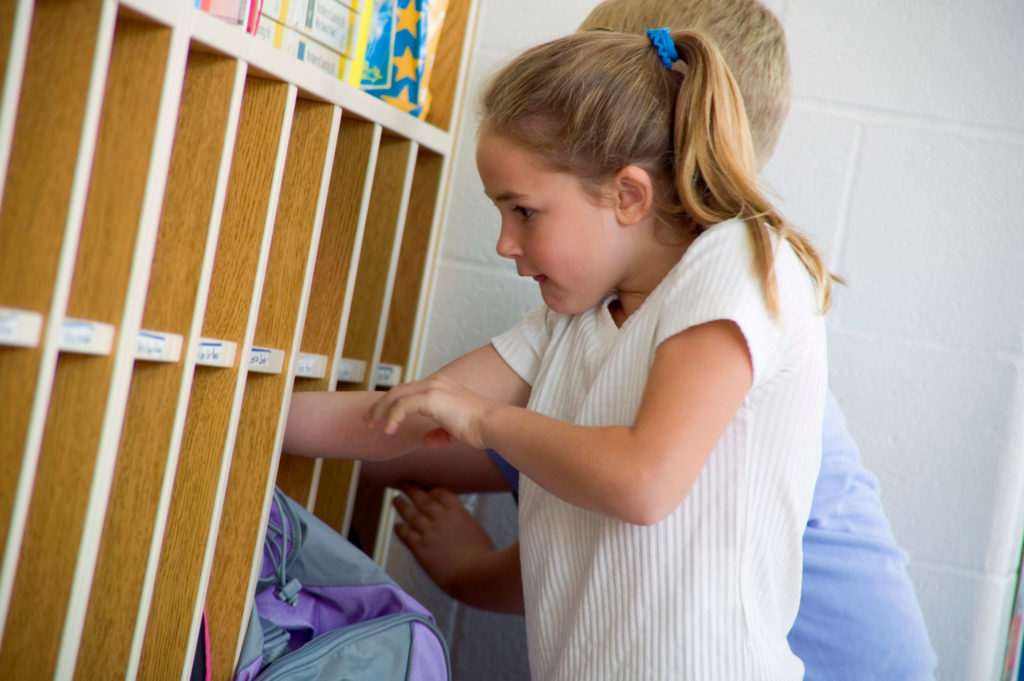
One shelf to store all the books, blocks, backpacks, manipulatives, puzzles, tiny teddy bears…Where was I going to put all the “stuff” that comes along with teaching pre-k without spending an arm and a leg? If there was one hard, fast rule I had learned teaching pre-k previously, it was:
Don’t get out ALL the toys at once.
Rotate. Put things away. Get out new things. Student behavior is SO much better when the materials are fresh, and kids aren’t bored. But with no closet, no cubbies, no shelves (well, there was the ONE)…I knew I would have to find a way to hide things in plain sight.
And that’s when it came to me –
GIFT WRAP!
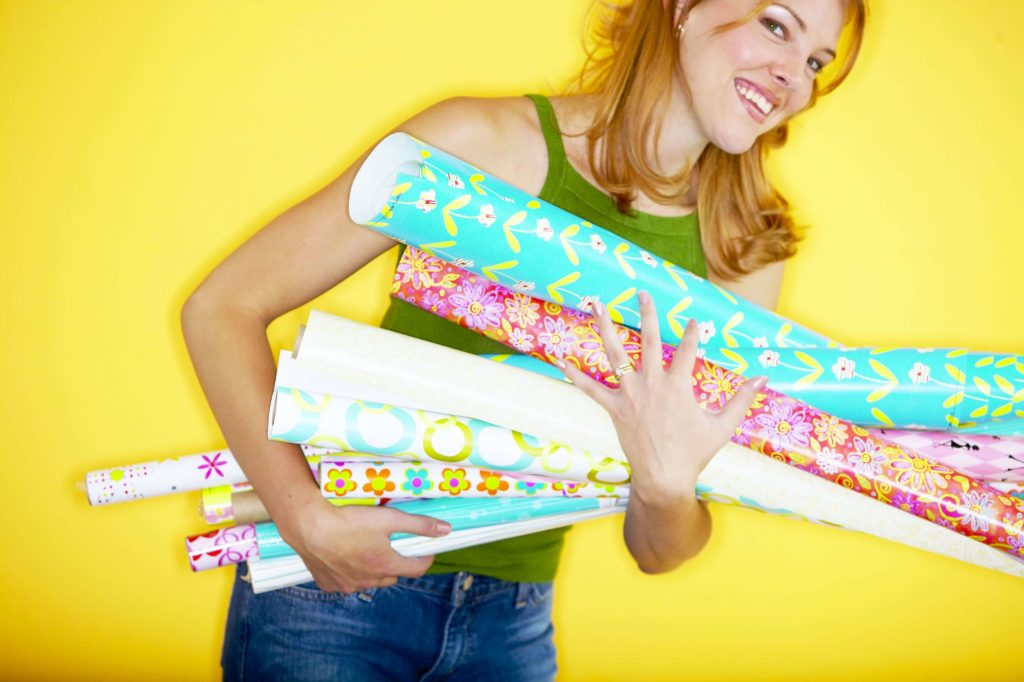
What kid doesn’t love opening a new gift?
So, I sat down and made a plan for how to rotate the materials through the different centers each month. Then I got a whole bunch of butcher paper, scissors, and tape. Armed with a Sharpie, I was ready to roll! Literally!
I rolled & wrapped all the containers of manipulatives, puzzles, and toys in colored butcher paper or left-over wrapping paper. Everything!
I only left out what I needed to begin the school year. I labeled each package with the item name AND the month that I wanted to open it. Then, I simply piled the materials up right there in each center, along the wall, right in plain view. Each center had its own color of butcher paper or gift wrap.
And it was a HUGE hit! The kids loved it! Classroom storage problem solved! Boom!

Every month, at the beginning of the month, it was a big deal that we got to open a new present and add something to each center. The kids never tried to unwrap a gift without permission. They knew if they messed with the pile of presents, we wouldn’t get to open it the following month. When the center became too “full”, I simply wrapped up some of the old materials in butcher paper in order to put them away, labeled them for next year, and we were good to go! Out of sight = out of mind.
It was such a success, that years later (after I had scrounged up more shelves) I continued to wrap the extra materials in the same way…I just stored them on the shelf, now, instead of on the floor. Kids absolutely loved it!
No shelves? No classroom storage? Problem solved.
I’d love to have you join me on your teaching and mothering journey! Let’s stay connected.
