To kick off my daughter’s elementary dinosaur unit, we started by learning all about fossils. Studying dinosaurs is such a fascinating topic, but understanding what fossils are and how they form is an essential part of this thematic unit! So, of course, I pulled out my handy-dandy salt dough recipe that we use for making so many things and we whipped out some salt dough fossils!
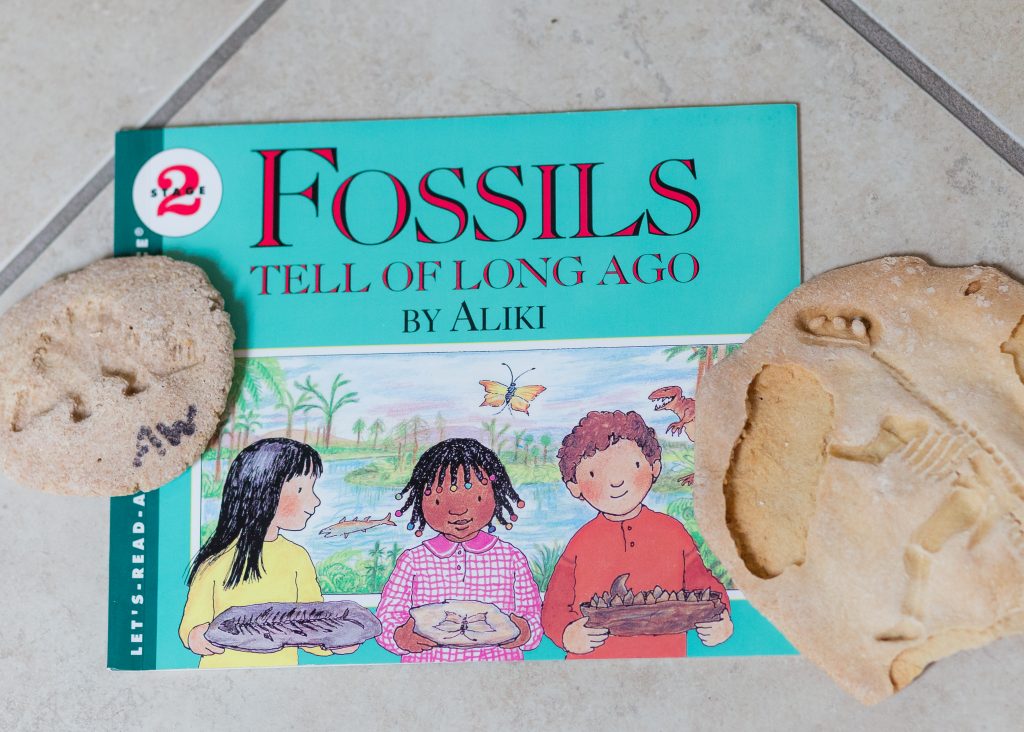
To begin, we started off by reading one of the must-have books for any dinosaur unit, Fossils Tell of Long Ago by Aliki. This book does such a great job of explaining how live animals – and even plants – turn into fossils. Aliki uses simple words and pictures that young children can understand. It does teach evolution, which we don’t endorse, but it gave us a fabulous opportunity to teach about that, too.
After reading this book, I showed her some small fossils I keep tucked away including a fossil snail, a shell imprint, and even a petrified piece of wood. Next, I pulled out a fossil of a dinosaur. Her eyes grew big and she marveled, “is this a real fossil?”
“Nope! I made it! Would you like to make one, too?”
Making Salt Dough Fossils
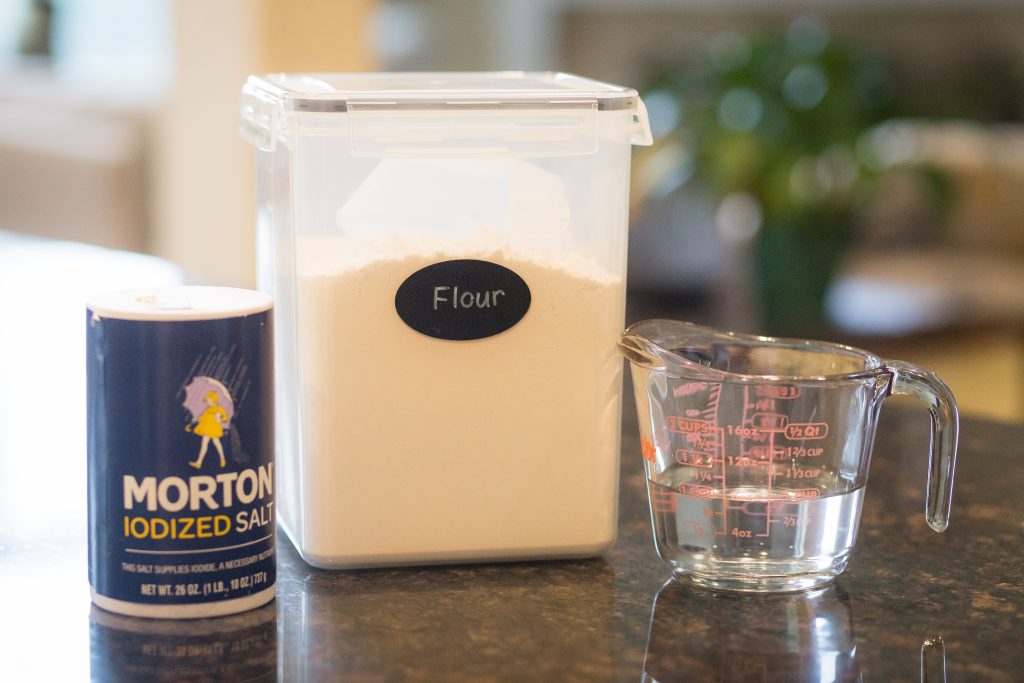
Of course she wanted one of her own, so we headed to the kitchen and whipped up a batch of our salt dough mix that is just perfect for so many school projects. Over the years, we have used this same salt dough mixture to make land form maps, maps of Texas, models of cells, and yes – dinosaur fossils!
Before beginning, we also gathered a few plastic dinosaurs of various sizes, including some skeleton dinosaurs. We used these to make our imprints in the salt dough. The large plastic dinosaurs worked really well to make big footprints in the salt dough, while the tiny dollar-store variety plastic dinos were just the right size to lay on their sides for the impressions.
It’s super simple!
READ: 7 Easy Preschool Science Centers that Double as Centers

Salt Dough Recipe
- 1 1/2 c. flour (use whole wheat flour for a more grainy, earthy color & texture)
- 2 c. salt
- 1 c. water
- 1 1/2 tsp. alum (optional)
Directions:
- Mix all dry ingredients.
- Add water, a little at a time until the consistency of play-dough. If dough is too sticky, add more flour.
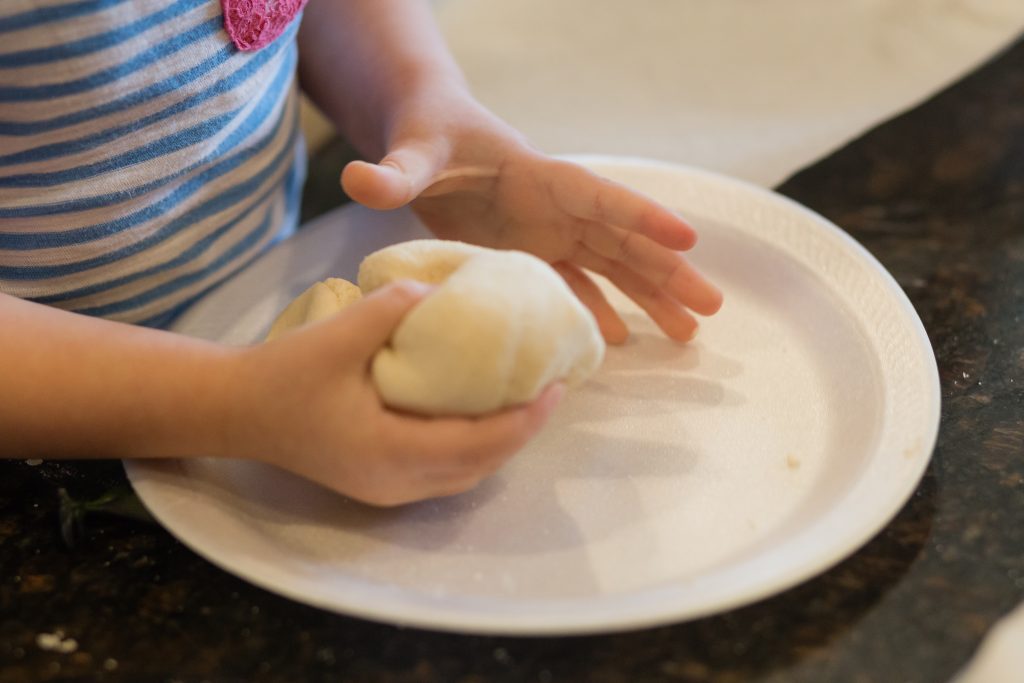
- Manipulate dough into desired shape .
- Leave out and allow to harden or bake in oven at 350 for 10 minutes.
READ: What’s Your Homeschool Style? The 7 Most Popular Homeschooling Methods

This salt dough recipe is incredibly versatile. You can add food dye to the mixture if you’re using it to make a map, but in this case, we wanted our fossils to look earth colored, so we left it alone. Once we started working, the other kids arrived in the kitchen and joined in the fun, so each child ended up with a few cookie-sized blobs of dough to shape and then got to choose which dinosaurs they wanted to fossilize.

When we finished, we popped the fossils in the oven for a few minutes on a baking sheet to harden them. After baking, the under side was still a bit soft, so we turned them upside down and let the other side dry out for a few days. We could’ve popped them back in the oven for a quicker finish.
Once dry, kids can paint them or do whatever! You can even use a permanent marker to write on the dough before baking to identify whose fossil is whose.
READ: Bible Songs for Kids

Salt Dough Fossils For Ages
I first started working with salt dough as a child in my own mom’s kitchen. Then, as a classroom teacher, I made them almost every year in my classroom with students. These things can last an incredibly long time! They may not last as long as real dinosaur fossils, but these salt dough fossils definitely have a long shelf life! I have some that are 15-20 years old that I have pulled out over and over across the years and shared with generations of children, including my own. I simply store them wrapped in a paper towel and tucked into a ziplock bag along with my stacks of dinosaur books.
Making salt dough fossils is a super fun and memorable way to learn about dinosaurs and fossil formation! Give it a try in your homeschool kitchen or classroom!
Up Next: DIY Colored Glue Recipe


