

Try out this Valentine wooden bead garland if you’re on the hunt for a simple Valentine home décor craft project you can do with the kids! These farmhouse style garlands are so popular these days but so incredibly simple that you can make them easily with kids!
From start to finish, this Valentine wooden bead garland project took us about an hour to complete – and my girls really loved it! It was quick, easy, and fun! Plus, once my son saw the heat gun, he stuck around, too.
Materials for the Valentine Wooden Bead Garland:
- Wooden beads (20 mm)
- Acrylic paint (red, pink, white)
- Poly acrylic sealer
- Hair dryer or heat gun to dry
- Paper plates
- Small plastic dish with lid
- Twine
- Scissors
- Paint stick or popsicle stick to stir
Steps to make a Valentine Wooden Bead Garland
- Add paint to the bottom of a Tupperware type small dish
- Add a small amount of water to thin the paint. Stir to mix.
- Add beads.
- Close lid tightly. Shake gently.
- Dry wooden beads using a hair dryer or heat gun.
- Repeat with a poly acrylic sealer using the same method. Dry.
- Cut twine to desired length. Either make a knot at one end or attach a wooden tag. String beads onto the twine.
- Make a tassel to tie to the end.
- Decorate!
>>> Jump to Bible Songs for Kids about Love
How to Make the Valentine wooden Bead Garland with Kids
This Valentine wooden bead garland project was really fast and easy for kids – even young ones. Before starting, I searched for the easiest way to paint wooden beads, and found this amazing tutorial, which was so helpful!
My girls enjoyed picking out paint colors and being involved every step of the way. It’s not a very messy project, but just in case the paint spilled, we started by covering our kitchen countertop with a garbage bag.
Then we simply made sure we had all our materials ready at hand. Time to start!
Step 1: Add paint to the bottom of a Tupperware type small dish.
First, I grabbed some disposable Rubbermaid 5.2 cup Take Along containers. They were the perfect size for painting the wooden beads. I didn’t measure the paint. We just squirted some in! We used Apple Barrel acrylic craft paint like this.
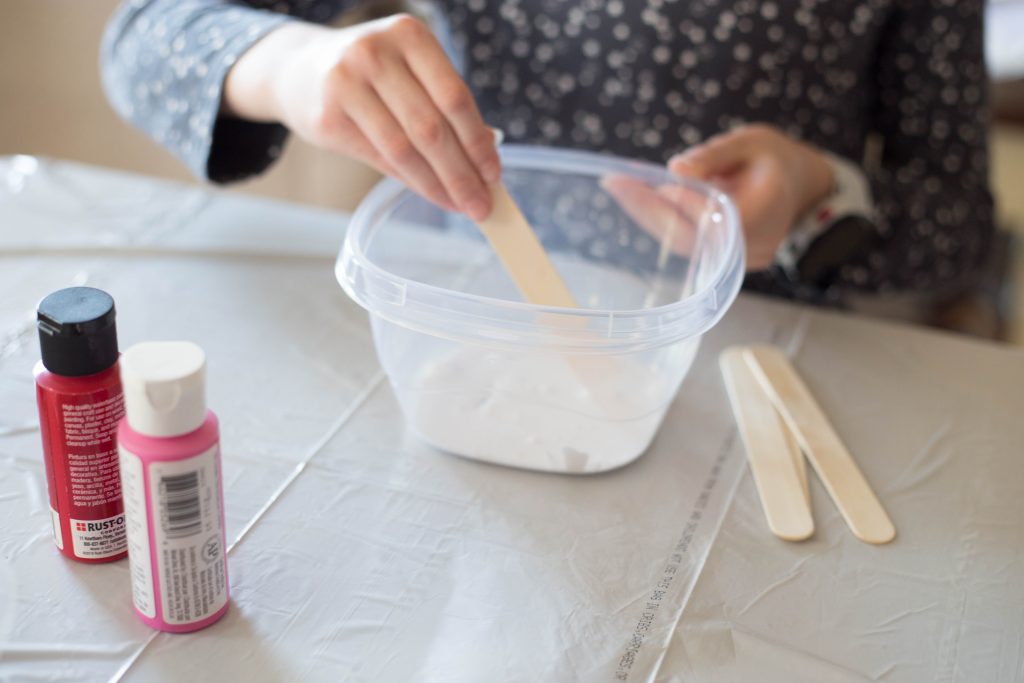
Step 2: Add a small amount of water to thin the paint. Stir to mix.
I didn’t measure the water we added to the paint either, but we learned that it’s best to use just a tad more than we thought. Watering down the paint prevents it from clumping on the beads. We probably added about a Tablespoon of water. My girls enjoyed stirring the paint and water together!
>>> Read: 18 Valentine’s Day Picture Books You Should Read with Kids

Step 3: Add wooden beads.
Just dump the wooden beads into the paint! We used 20 mm. unfinished wooden beads like these.
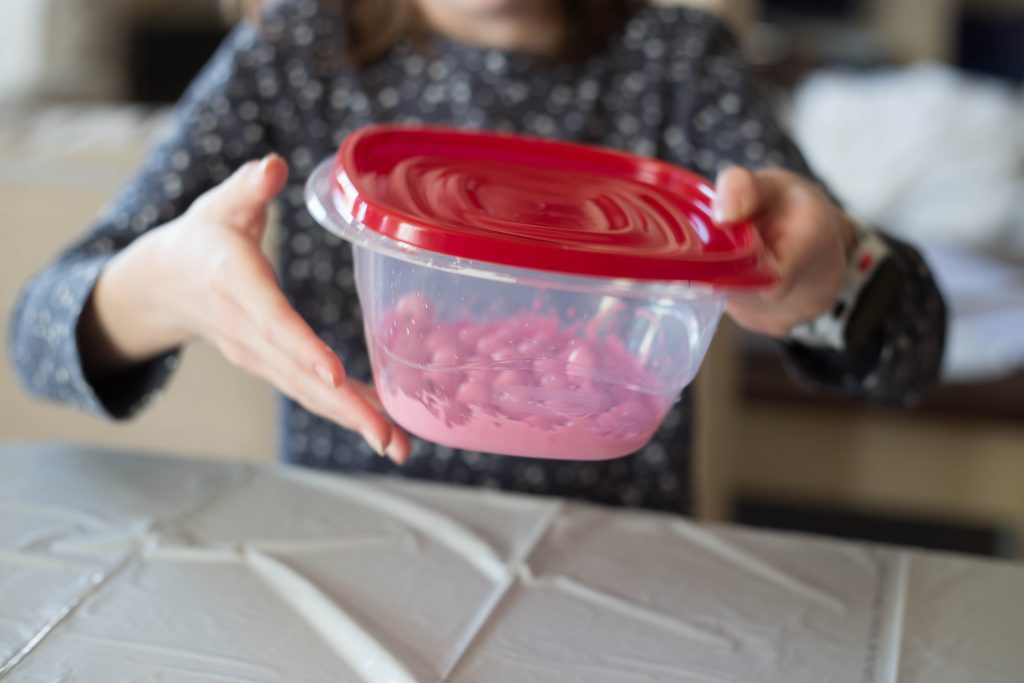
Step 4: Close lid tightly. Shake gently. Dump out onto a paper plate.
Now, for this next part, make sure the lid is snapped on tightly. Swirl the wooden beads inside the paint and shake gently. It only takes a few seconds to completely coat the beads in paint. When covered, dump out the beads onto a paper plate.
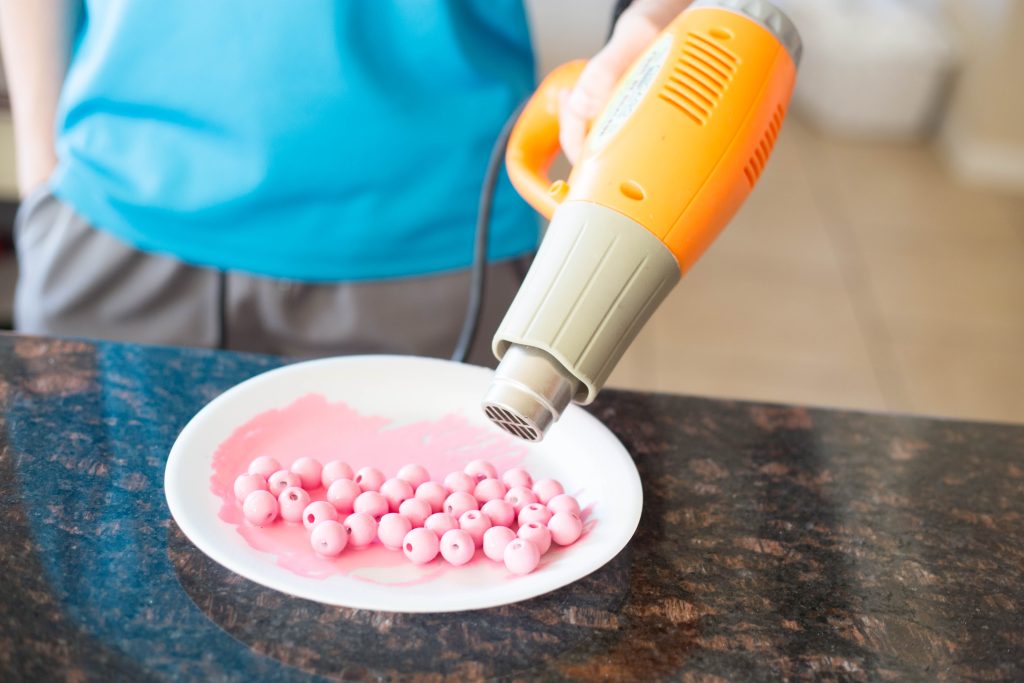
Step 5: Dry wooden beads using a hair dryer or heat gun.
We used a heat gun like this on low to dry the wooden beads. It only took about 1 minute! We just kept gently rolling the wooden beads around on the plate as they dried to make sure all sides dried evenly. A hair dryer would probably work just as well but might add a few more minutes onto the project.

Step 6: Repeat with a poly acrylic sealer using the same method. Dry.
The attached YouTube video recommended using the same method above to apply the poly acrylic sealer. However, I had spray acrylic sealer instead, so I just sprayed on the sealer, rolled the wooden beads around, blew them dry again, and it gave the exact same effect! So easy.
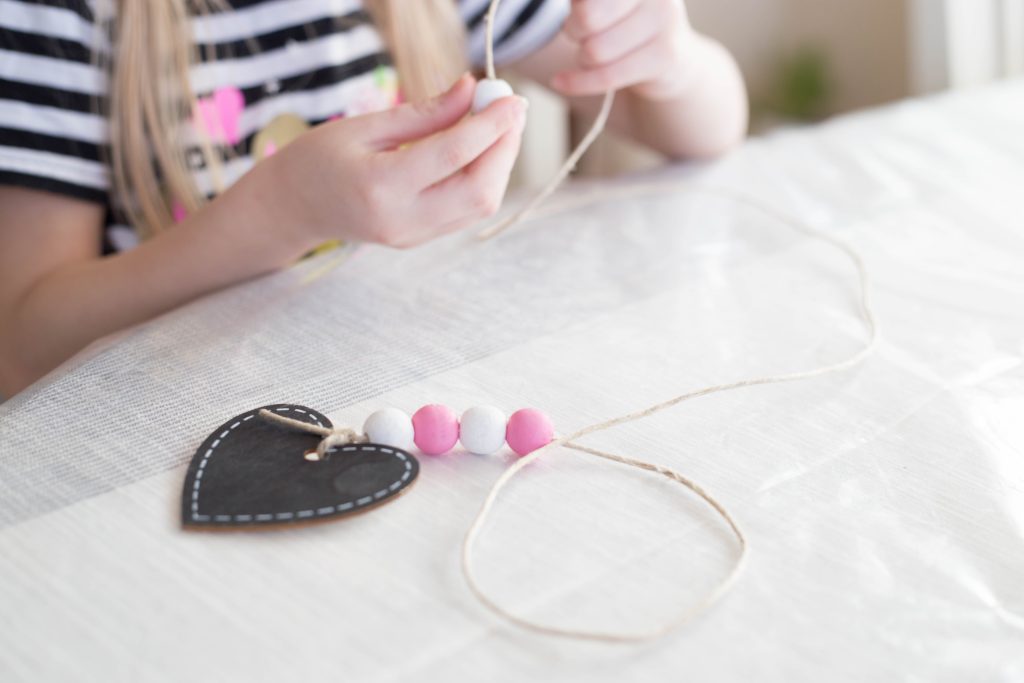
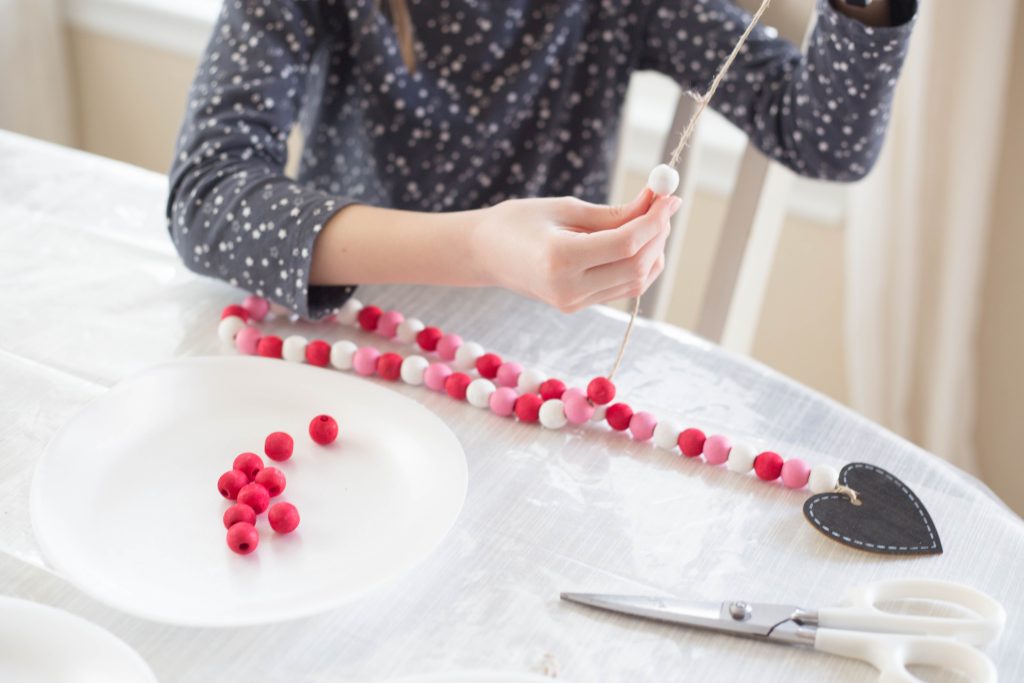
Step 7: Cut twine to desired length. Either make a knot at one end or attach a wooden tag. String beads onto the twine.
Instead of soft jute twine, I opted to use natural polished hemp thread like this because it is slightly stiffer than twine. I’ve learned over the years that stiffer thread is easier for young kids to manipulate than limp yarn or twine.

Valentine’s Day Activities for Preschoolers
Fun & easy activities to teach literacy, math, and fine motor skills. Includes cute preschool-friendly art activities, too!
We wanted these cute black chalkboard hearts on the ends of our Valentine wooden bead garland, so I started their string by tying it onto one end with a firm knot.
After stringing every few beads, the end of the thread would start to fray, so we just snipped it off with scissors and carried on.
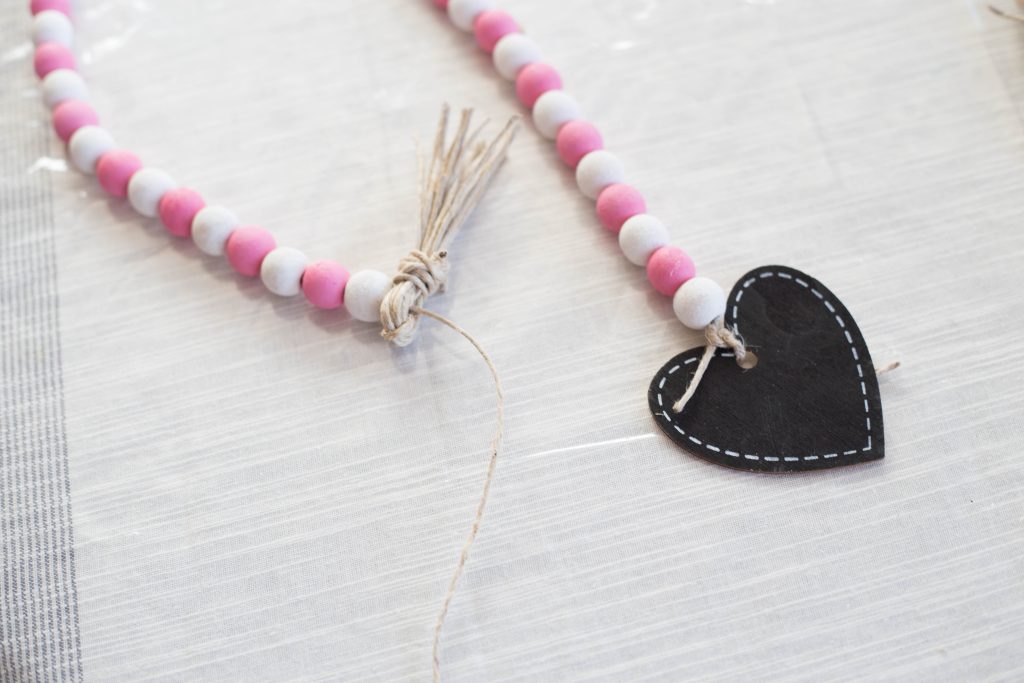
Step 8: Make a tassel to tie to the end of the valentine wooden bead garland.
Making tassels is pretty easy! While my kids were working on stringing the beads, I just followed the instructions in this YouTube tutorial and made a tassel for each child to finish off their Valentine wooden bead garland.
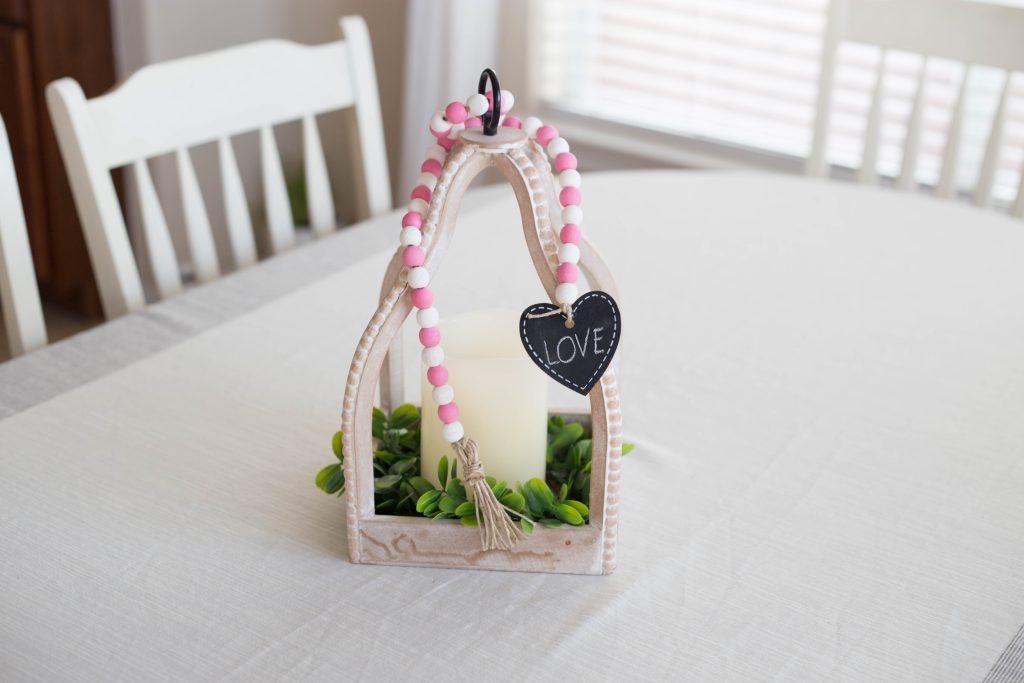
Step 9: Decorate!
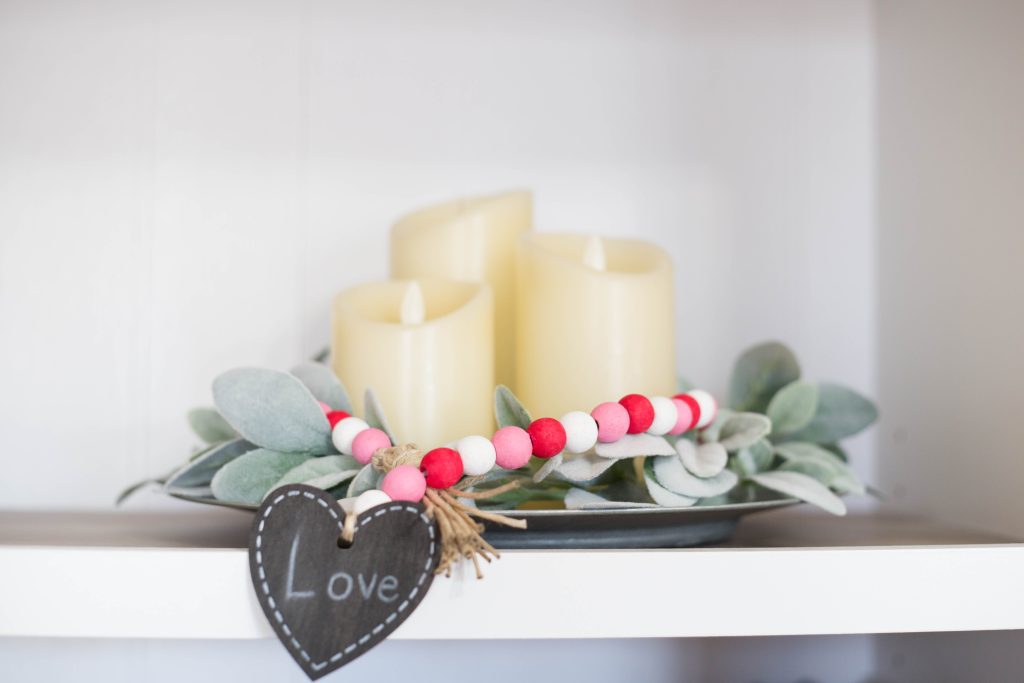
The Valentine wooden bead garlands turned out so cute! My girls made different patterns with their beads and were so proud of their little Valentine’s Day craft project. We wrote LOVE onto the chalkboard tags, but you could write their names or anything else!

Valentine’s Day Home Décor
When finished, these Valentine wooden bead garlands can be draped around a candle, vase, plant, or even tied onto your child’s bedroom doorknob. If you make a long strand, it looks cute draped across or underneath the fireplace mantle, too.
Valentine wooden beads garlands bring a sweet pop of pink, red, and white Valentine cheer wherever you string them and are a super quick and easy Valentine craft project with kids!
Check out the recent Redfin article we were featured in:
“Valentine’s Day is the perfect day to celebrate love for one another. It’s a great opportunity to let creativity blossom with fun, heart-filled
Valentine’s Day crafts for kids. No matter if you’re living in a cozy apartment in Chicago, settling into a new house in Colorado Springs, or renting a home in Indianapolis, this Redfin article is here to help you explore a variety of delightful and easy-to-follow craft ideas that will make Valentine’s Day even more memorable for both kids and parents alike. ” Read the full article here: Handmade Valentine’s Day Crafts for Kids: Simple Ideas for Sweet Home Décor
Disclaimer: I am a participant in the Amazon Services LLC Associates Program, an affiliate advertising program designed to provide a means for website owners to earn advertising fees by advertising and linking to amazon.com and affiliated sites. If you purchase through my link, I can earn a small commission. Thank you for supporting my family – it helps out a LOT!
Pingback: Handmade Valentine’s Day Crafts for Kids: Simple Ideas for Sweet Home Décor – Your Source for Real-Time News
Pingback: Handmade Valentine’s Day Crafts for Kids: Simple Ideas for Sweet Home Décor - McKinney News Source
Pingback: Handmade Valentine’s Day Crafts for Kids: Simple Ideas for Sweet Home Décor - Nashville News Source
Pingback: Handmade Valentine’s Day Crafts for Children: Easy Concepts for Candy Dwelling Décor – Swipenews247
Pingback: Handmade Valentine’s Day Crafts for Kids: Simple Ideas for Sweet Home Décor – AI Investor Picks
Pingback: Artesanía de San Valentín hechas a mano para niños: ideas simples para la decoración del hogar dulce – Inversiones USA
Pingback: Handmade Valentine's Day Crafts for Kids: Simple Ideas for Sweet Home Décor - suckleonthis.com
Pingback: Handmade Valentine's Day Crafts for Kids: Simple Ideas for Sweet Home Décor - Skyscrapers Today
Pingback: Handmade Valentine’s Day Crafts for Kids: Simple Ideas for Sweet Home Décor - Entrepreneurs 40under40